# Step 1: Create SSH Key
Execute following command into Git Bash. Replace your email address.
ssh-keygen -t rsa -b 4096 -C "email@example.com"# Step 2: Saving SSH Key To Path
After executing above command will ask you to enter file in which to save the key. Use default and press enter.
Next, it will ask you to enter a password. Press enter to leave it blank. Similarly, do it for the enter the same password prompt too.
# Step 2: Adding SSH Key To SSH Agent
After, creating and saving SSH Key, ensure the ssh-agent is running.
eval "$(ssh-agent -s)"Running above command will return pid.
Finally, add SSH key to agent by executing.
ssh-add ~/.ssh/id_rsaSSH key is now generated successfully.
# Adding SSH Key In GitHub (Bitbucket, GitLab)
After setting up your SSH key, login into your GitHub account. Click on your profile picture at the right top and click settings.
After that, click on SSH and GPG keys.
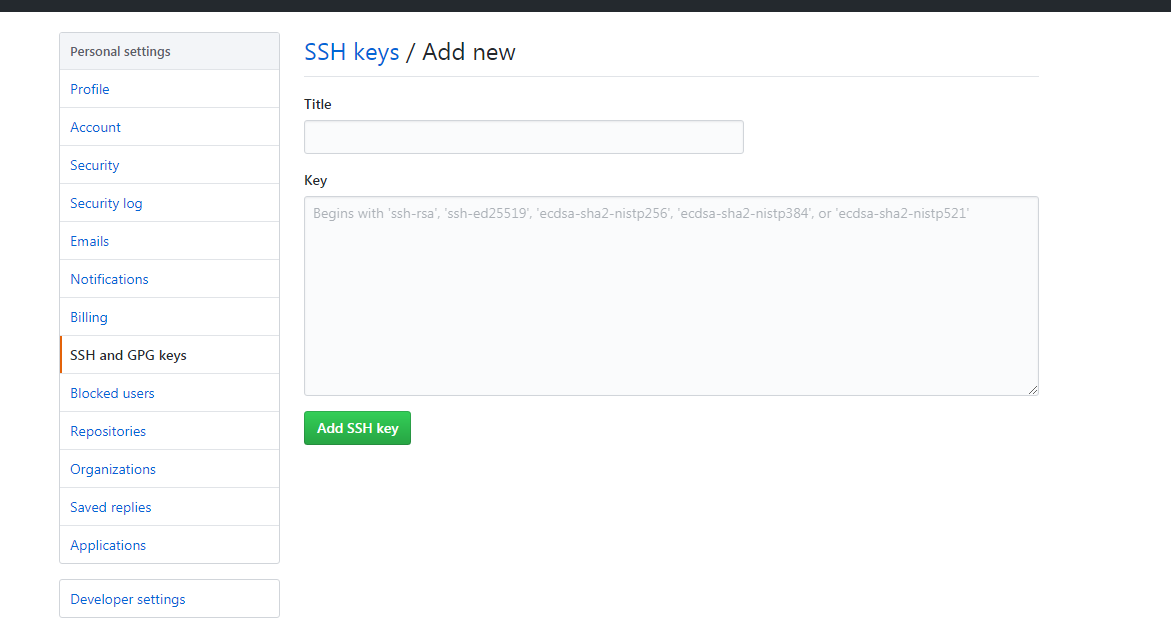
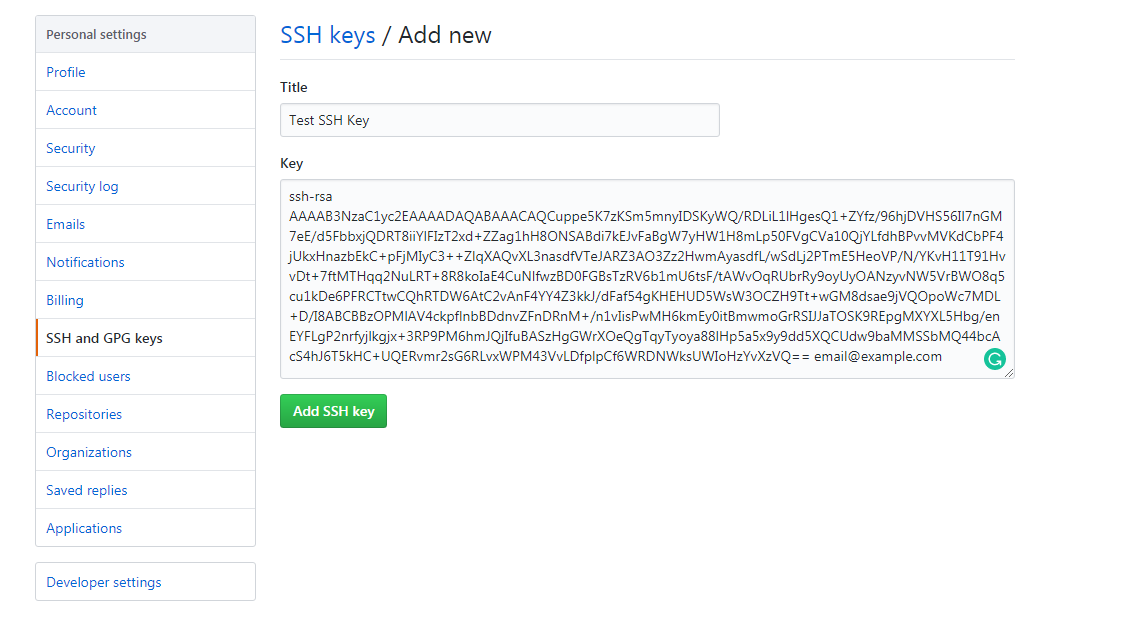
Add new SSH key by clicking New SSH Key button.
Go to C:\Users\user-name\.ssh path. Open id_rsa.pub in notepad. Copy whole content and paste it into GitHub new SSH key section. Click on add new button.
That’s it! You learned how to generate SSH key for Git and add it into GitHub. From now, you can use SSH as a cloning URL, and you don’t need to enter a password every time, whenever you push data.


